
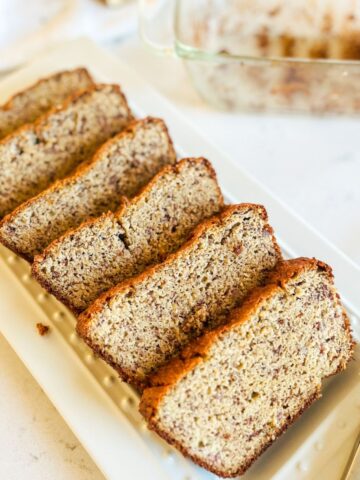
The best gluten free bread can only be made at home. Good thing this is such a simple recipe anyone can make with a little time!
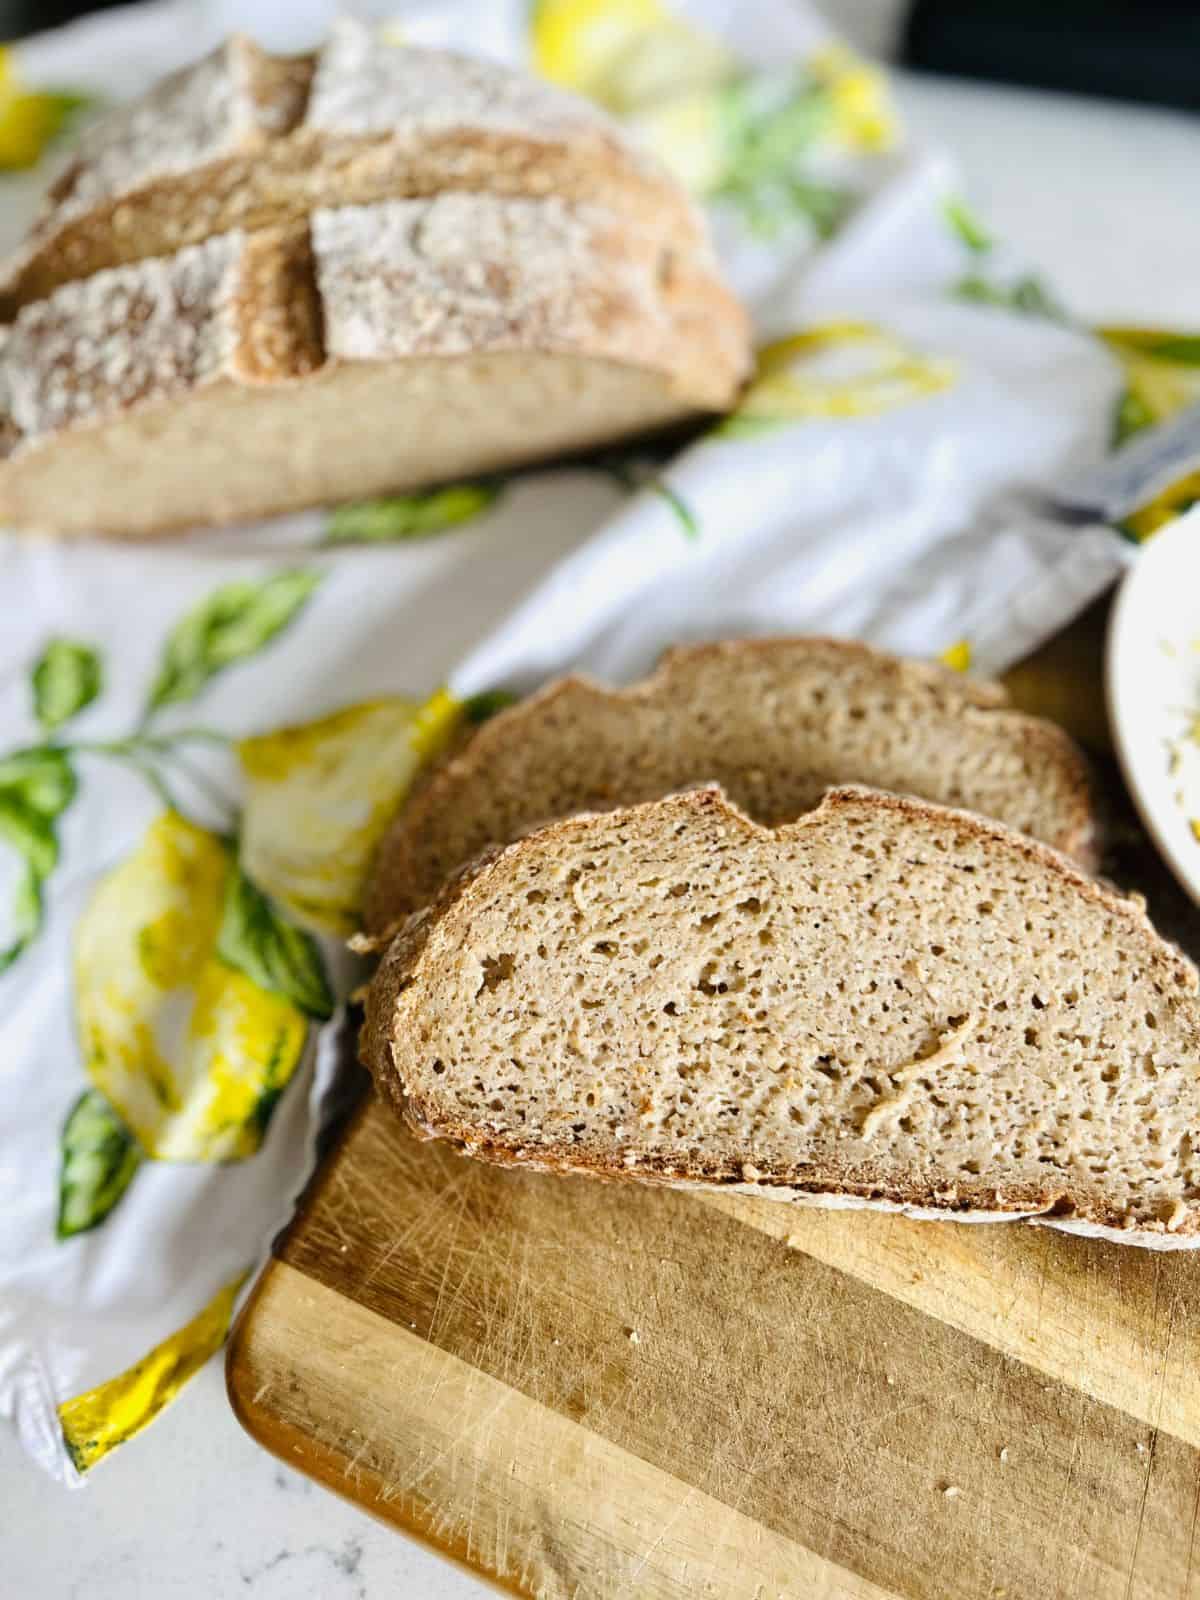
Making the best gluten free sourdough bread wasn’t going so well at first. It was too dense, the score wasn’t setting right, and I couldn’t find just the right recipe. I kept thinking, “I guess this is the way that it is going to be.” It was good, but I knew the best gluten free sourdough bread was still out there somewhere. There had to be a better recipe. As I kept baking and hoping, it happened. I came across the best gluten free sourdough bread by accident. If you read some of my other posts you’ll find a theme of me stumbling into the best recipe and that was just what happened when I found the best gluten free sourdough bread recipe.
Jump to:
- Minimalism Makes For The Best Gluten Free Sourdough Bread
- Why Psyllium Husk
- Gluten Free Sourdough Starter For Gluten Free Sourdough Bread
- Fresh Milled vs. Store Bought Flour For Making The Gluten Free Sourdough Bread
- Ingredients
- Instructions
- Forming The Gluten Free Sourdough Bread
- Scoring Sourdough Bread
- Variations
- What To Cook The Best Gluten Free Sourdough Bread In
- Cook Time For Sourdough Bread
- Storage
- Top tip
- FAQ
- Gluten Free Sourdough Bread
- Food safety
Minimalism Makes For The Best Gluten Free Sourdough Bread
Gluten free breads can tend to be dry or very dense. Mine was too dense and I couldn’t get away from it. No matter how much water I removed, it was still dense. This was the issue I was actively working to solve. My original recipe included a heavy flour and a light flour and other ingredients like flax seed, starch, etc. But, as I was exploring, minimizing began.
Flax Seed Can Make Gluten Free Bread Gummy
Through making sourdough discard pancakes, I realized that flax seed made the pancakes too gummy and created an odd texture that I didn’t love. So, out that went. Now I am down to: a heavy flour, a light flour, psyllium husk, starch, salt, water, and starter.
Heavy Flour Can Make Gluten Free Bread Too Dense
I had been exploring with buckwheat, millet, and amaranth, which I still need to go back to knowing what I know now. But for some reason, probably because of the denseness of the bread, I decided to use two light weight flours (all-purpose). Here is a good article to explore light and heavy flours. So the two flours I chose were oat flour and brown rice flour. The bread was better but still not great. It would still spread when I formed it and it was still a bit too dense, even with lighter flours. And then, one day I was out of brown rice. I only had about 100 grams so for the rest (400 grams) I used oat flour. And my perfect loaf was birthed! Oat flour is a fantastic flour for making the gluten free sourdough bread.
At this point my ingredients were: 2 light flours- oat and brown rice flour, psyllium husk, starch, salt, water, and starter.
Starch Is Not Necessary, But Adds Moisture To Gluten Free Bread (If Needed)
Starch helps retain moisture to provide a more moist product. One day, I forgot to add starch to the dough, so here I go stumbling again. But what did I find? It’s not necessary for making the gluten free sourdough bread as long as you add 620 grams of water. However, if you find that your bread is not as moist as you prefer then feel free to add 35 grams of tapioca or arrowroot starch. I have made the bread both ways and they both work wonderfully. This is a joy because removing the starch leaves the bread to a minimal 5 ingredients!
Oat Flour Retains Moisture
In my exploration and theory I have noticed that oat flour soaks water rapidly and oat flour also retains moisture well. Therefore, this is my theory for why the starch is not necessary for this gluten free bread recipe. I am no scientist but maybe someone can affirm this theory!
Why Psyllium Husk
In a short and sweet answer, psyllium husk provides the structure that we miss without gluten in gluten free bread.
Gluten Free Sourdough Starter For Gluten Free Sourdough Bread
I have found that the best gluten free sourdough starter is made from brown rice flour. That doesn’t mean there aren’t great starters from other flours. So explore and see what you like. But I do prefer brown rice flour for mine.
Before I start rambling about how to make and keep a sourdough starter. Know that you can purchase a gluten free sourdough starter and save yourself some time.
However if you want to make your own, it is really simple but you will need about 2 weeks to get it going.
Ingredients in Sourdough Starter
¼ cup water
¼ cup brown rice flour
How To Make and Keep A Gluten Free Sourdough Starter: Made Simple
Mix equal parts brown rice flour and water.
Feed the starter equal parts flour and water twice a day (morning and night) until it is at least 10 days old. New starters must be nurtured like infants.
Feed: A starter must be fed equally to how much is in the jar. If half of the jar is full then you will have to feed it that same amount to keep it alive.
Discard: This is the point of discarding sourdough starter. You can take the starter down to ½”-1” of starter in the jar and feed it correspondingly.
2 weeks: keep doing this for 2 weeks and you will see an active starter.
I still suggest purchasing if you can! It helps get the ball rolling!
Fresh Milled vs. Store Bought Flour For Making The Gluten Free Sourdough Bread
I mill all of my grain using the MockMill 100. I mill from oat groats and brown rice bran. However, I shared this recipe with a friend to test and she milled old fashioned oats and brown rice using her food processor. I don’t suggest doing this everyday because it is easy to burn up a food processor that way, but it is an option if you don’t have a mill. You wouldn’t put old fashioned oats in a mill anyway. You would have to use oat groats for that.
You can also use pre-milled store bought oat flour and brown rice flour as opposed to milling or processing. Milling your flour is not necessary to make the gluten free sourdough bread.
Ingredients
There are not many ingredients in this gluten free sourdough bread which is part of making this recipe the best gluten free sourdough bread. There are only 5 ingredients in the dough which include:
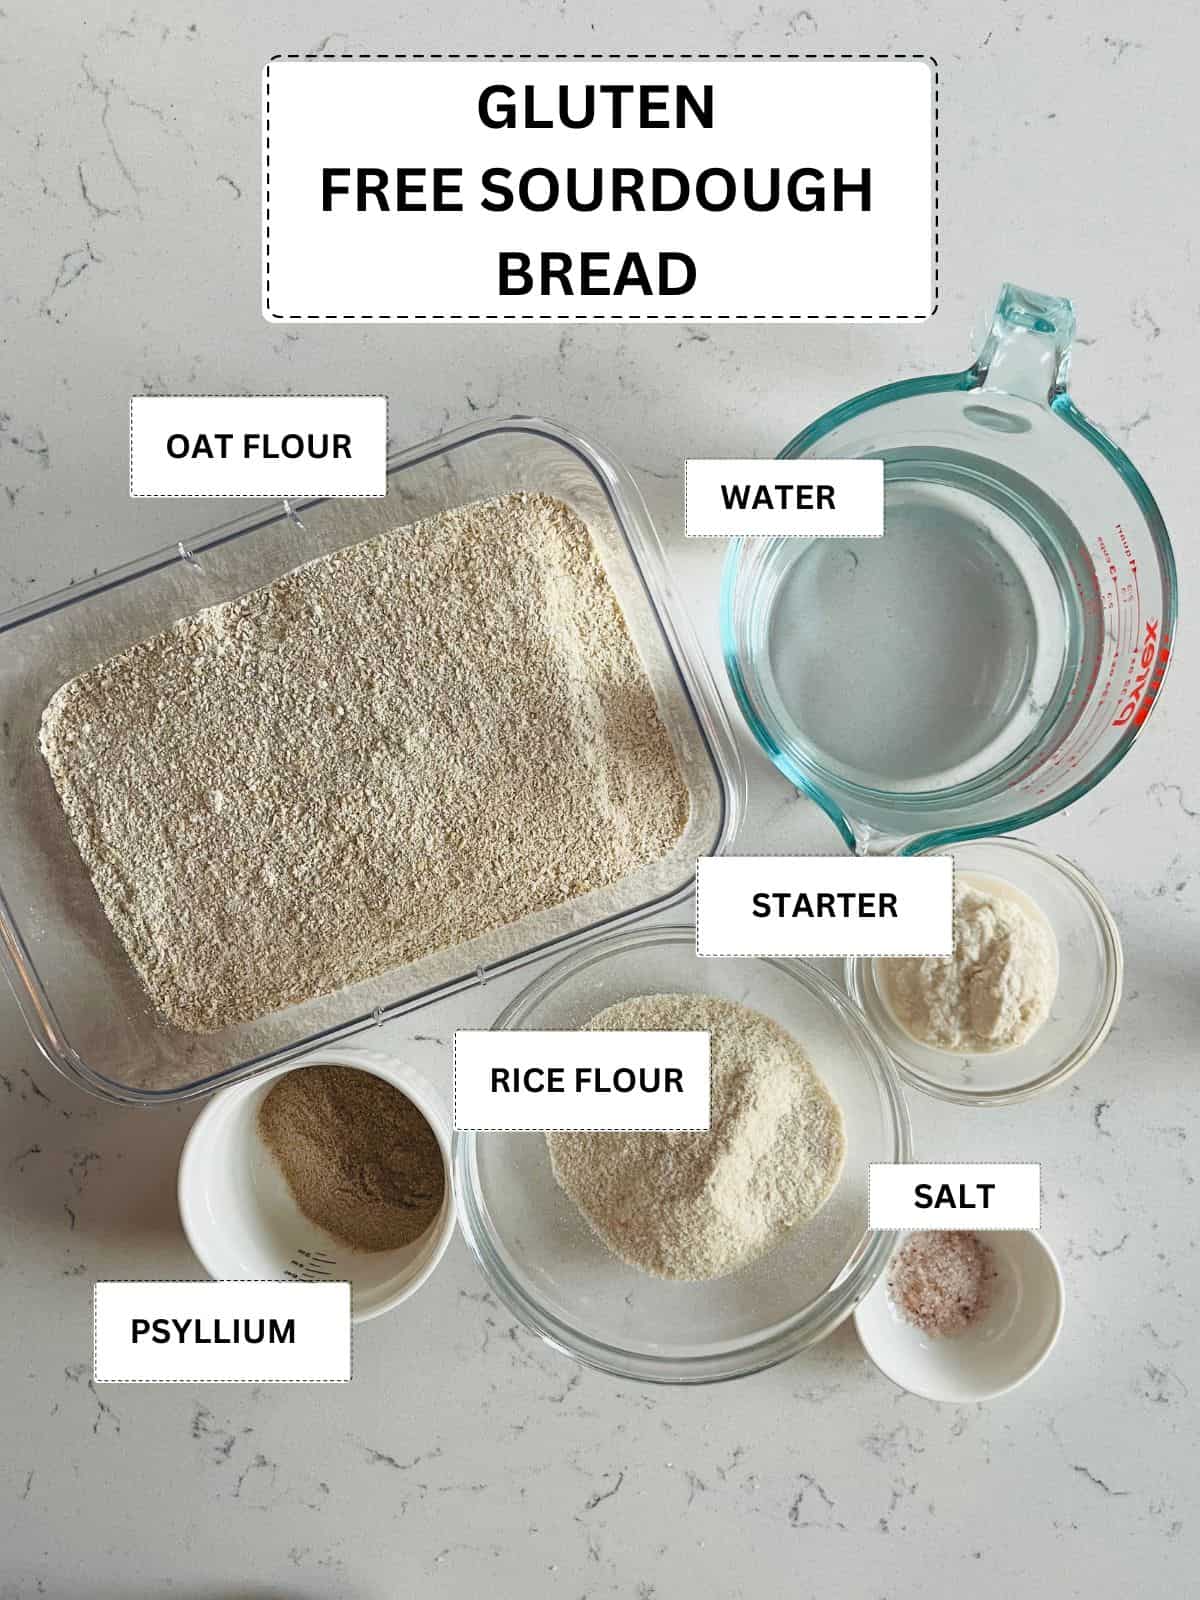
- Flour (brown rice & oat flour)
- Psyllium husk
- Salt
- Water
- Sourdough starter
- King Arthur 1:1 Gluten Free Flour for forming and kneading this gluten free sourdough bread.
- Starch (optional) – tapioca or arrowroot
See recipe card for quantities.
Instructions
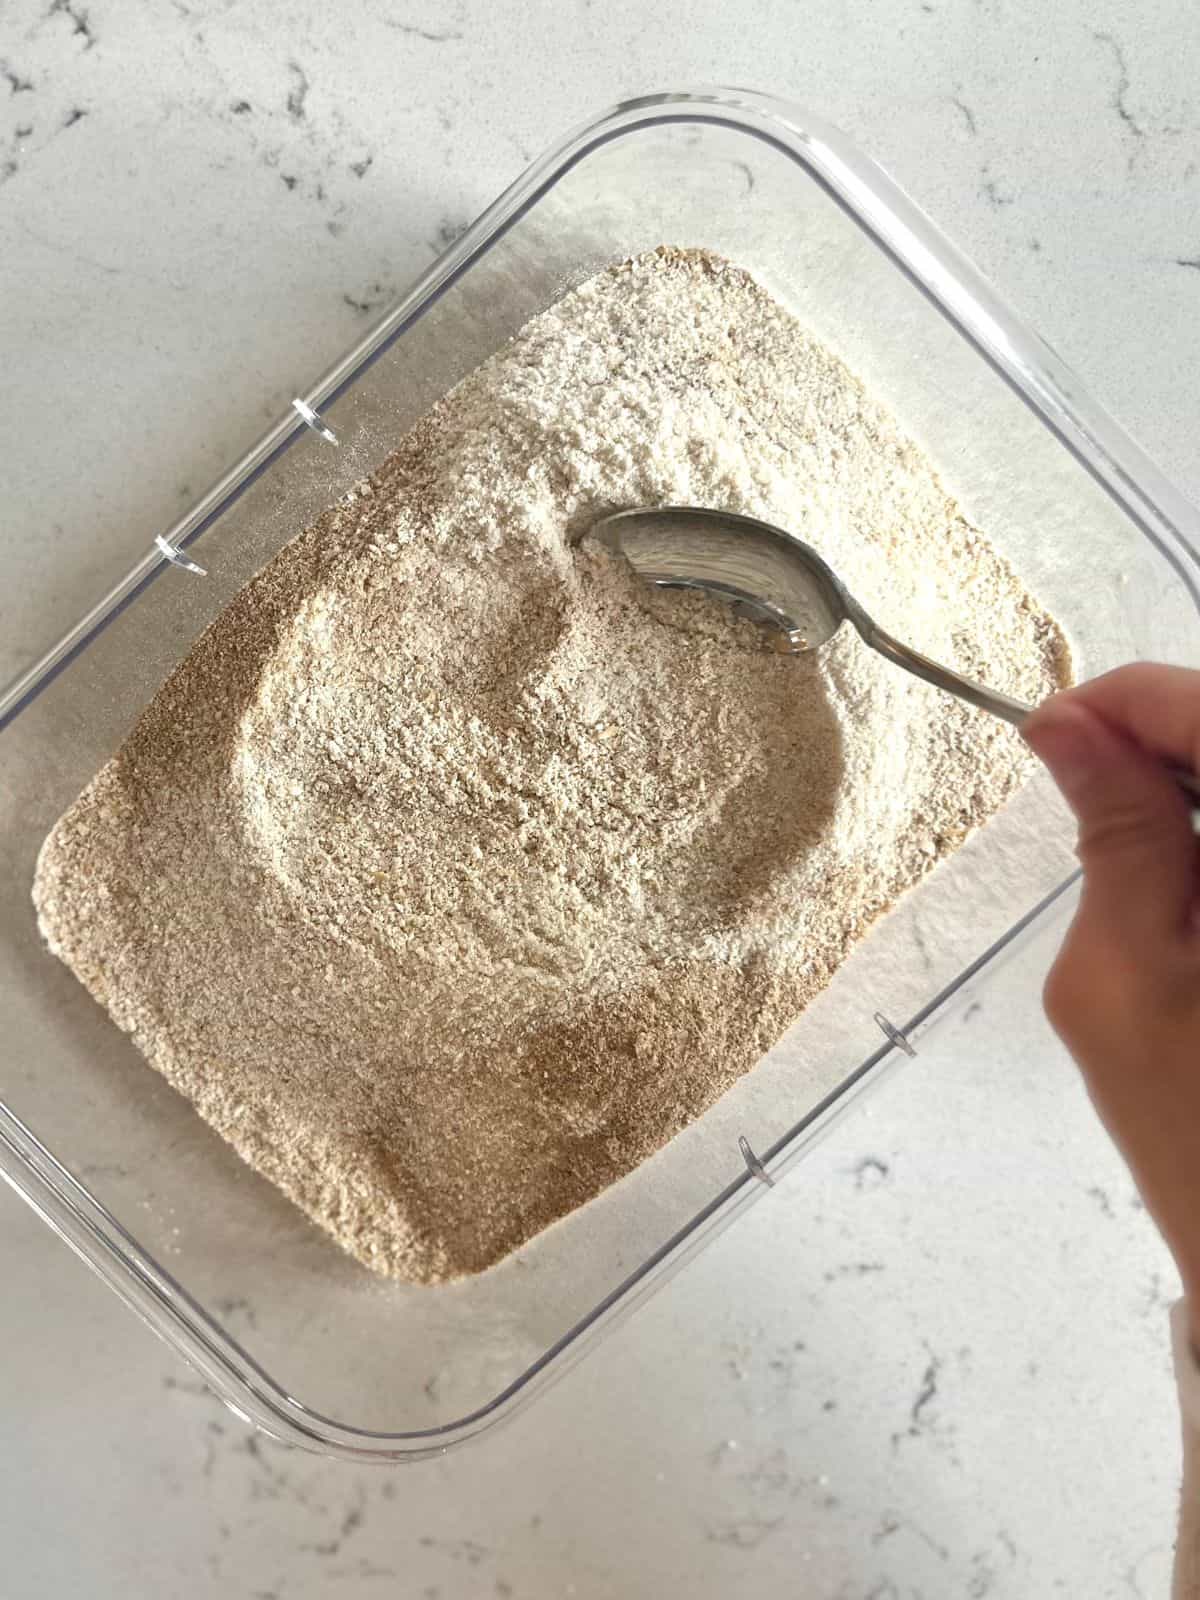
Blend dry ingredients together well.
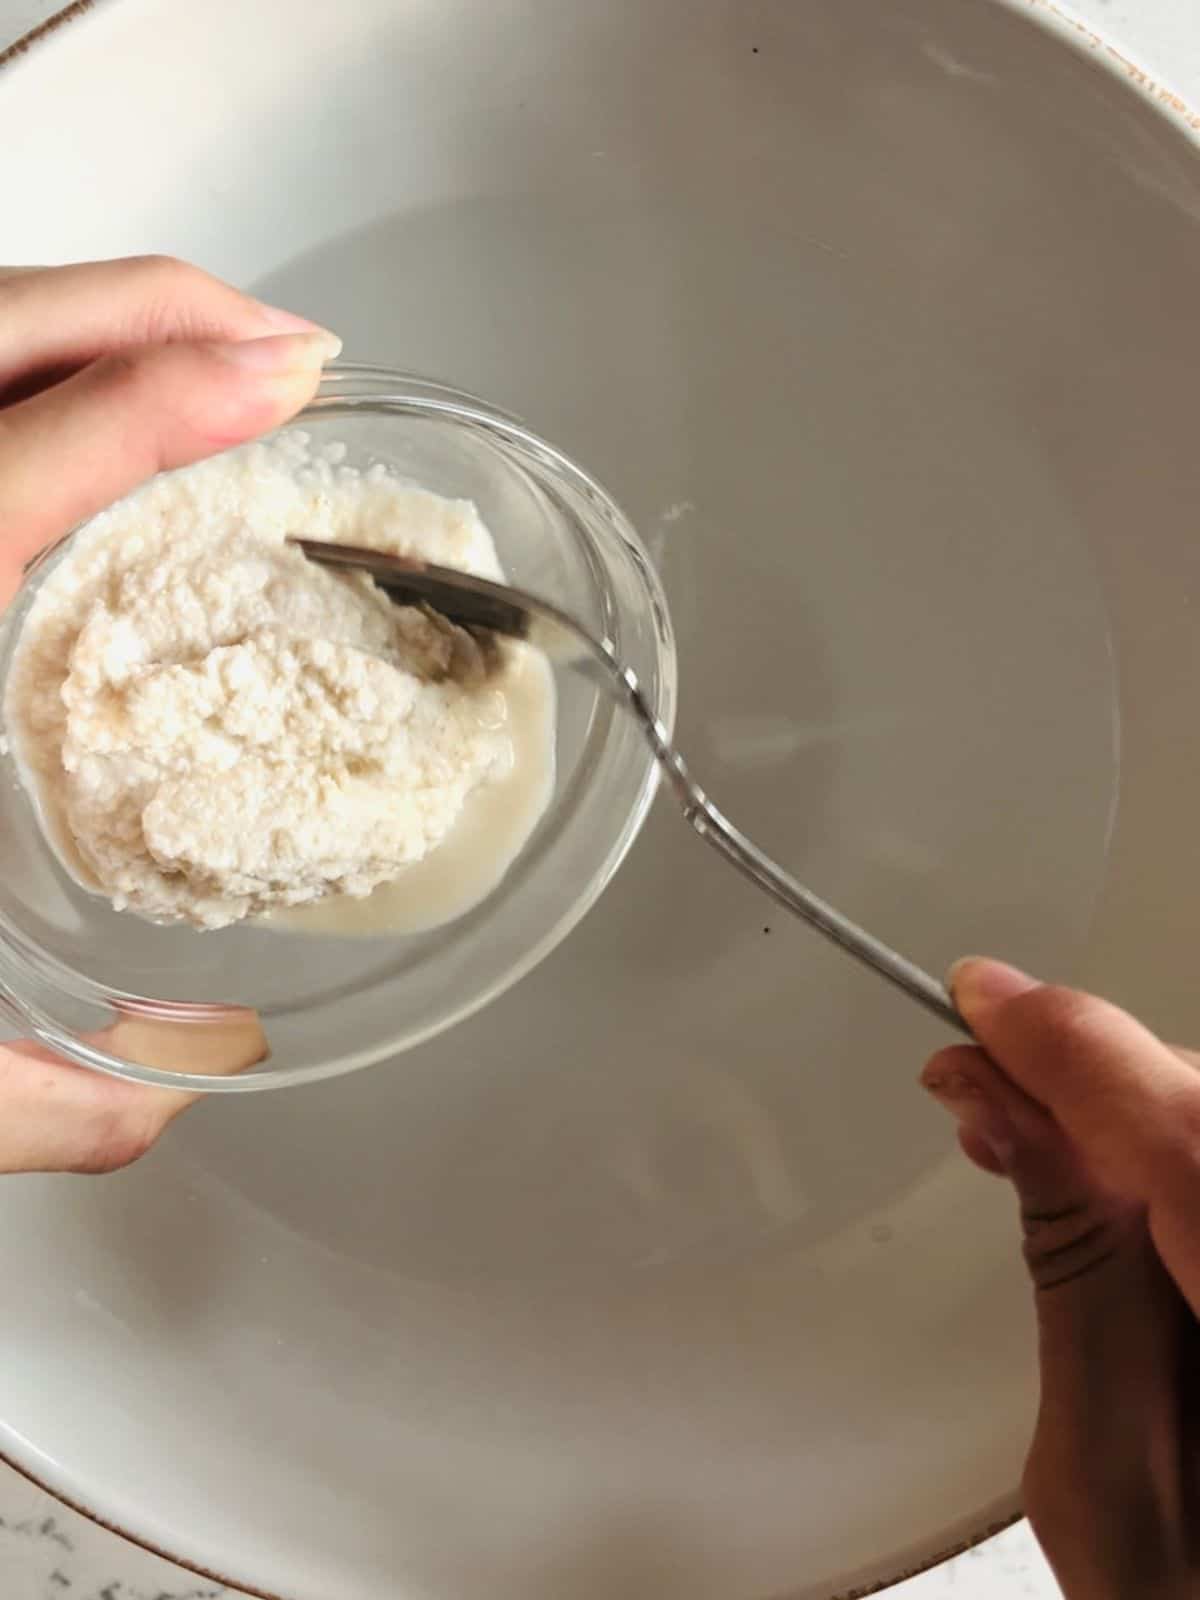
Blend starter and water together well.
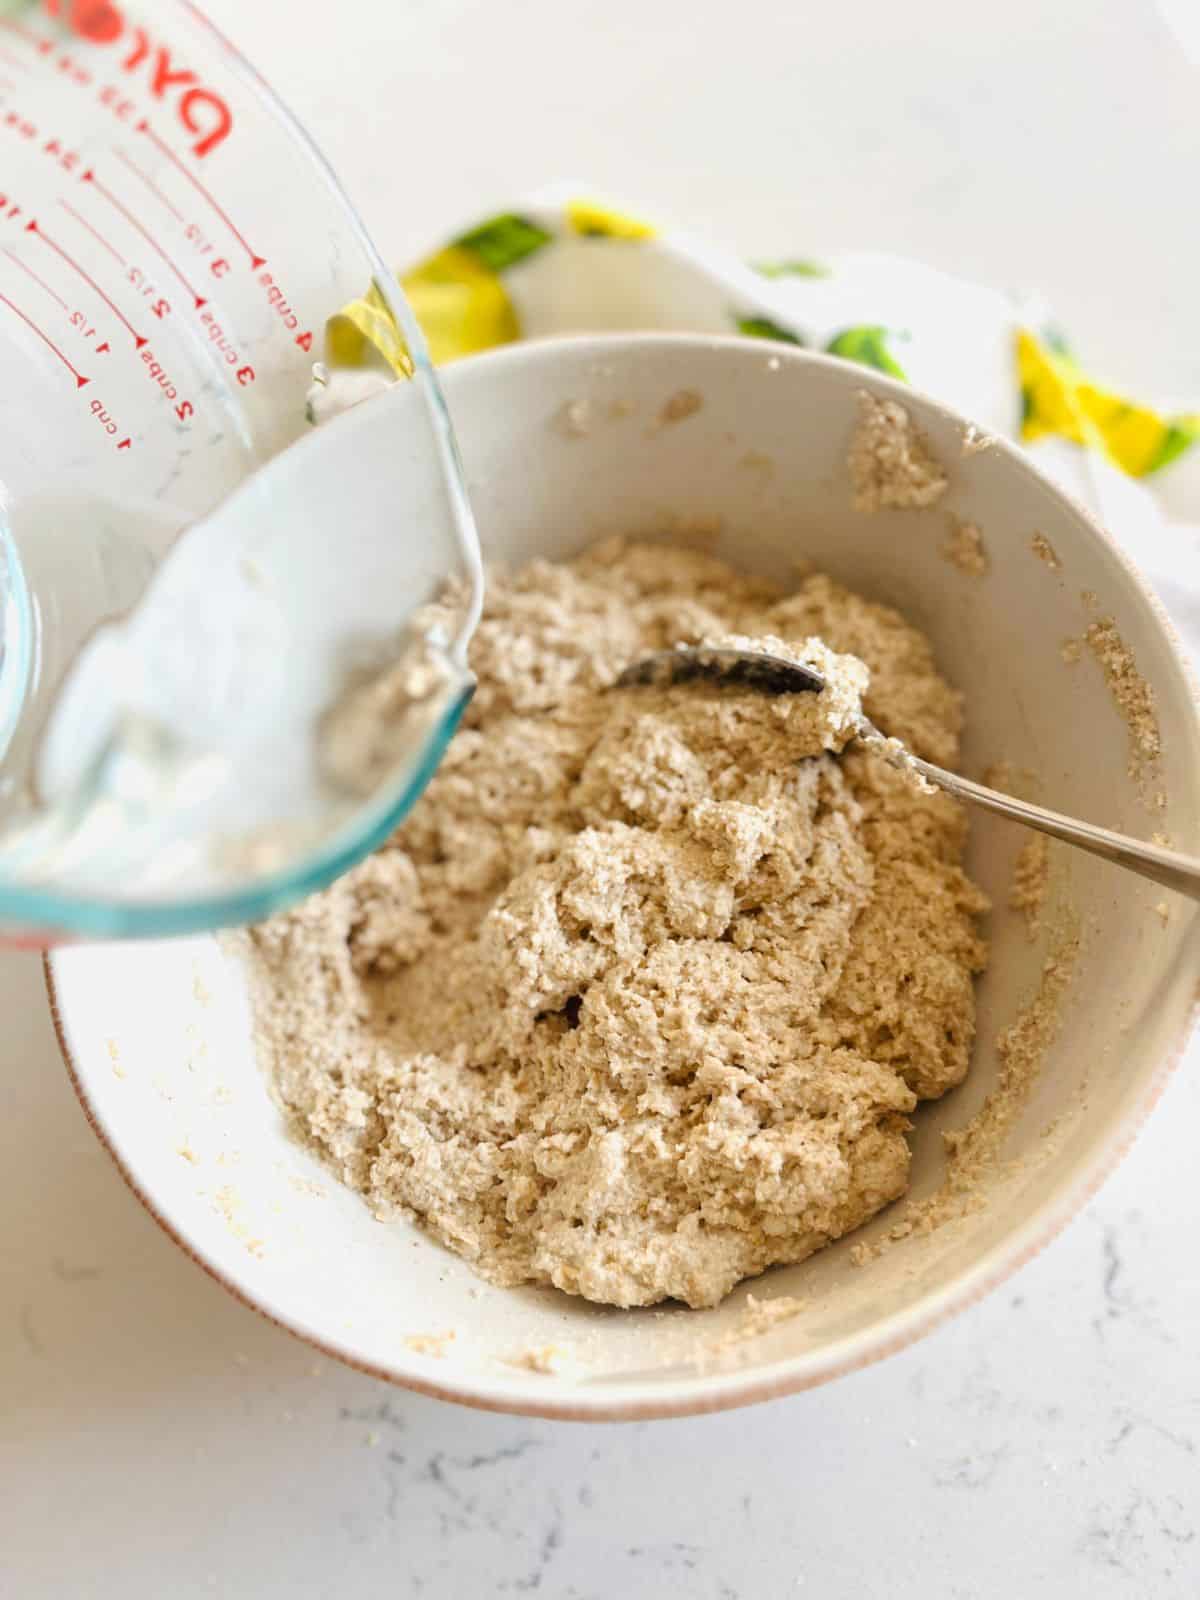
Mix wet and dry together. Add more water if necessary but do not go over 620 grams of water in the whole recipe.
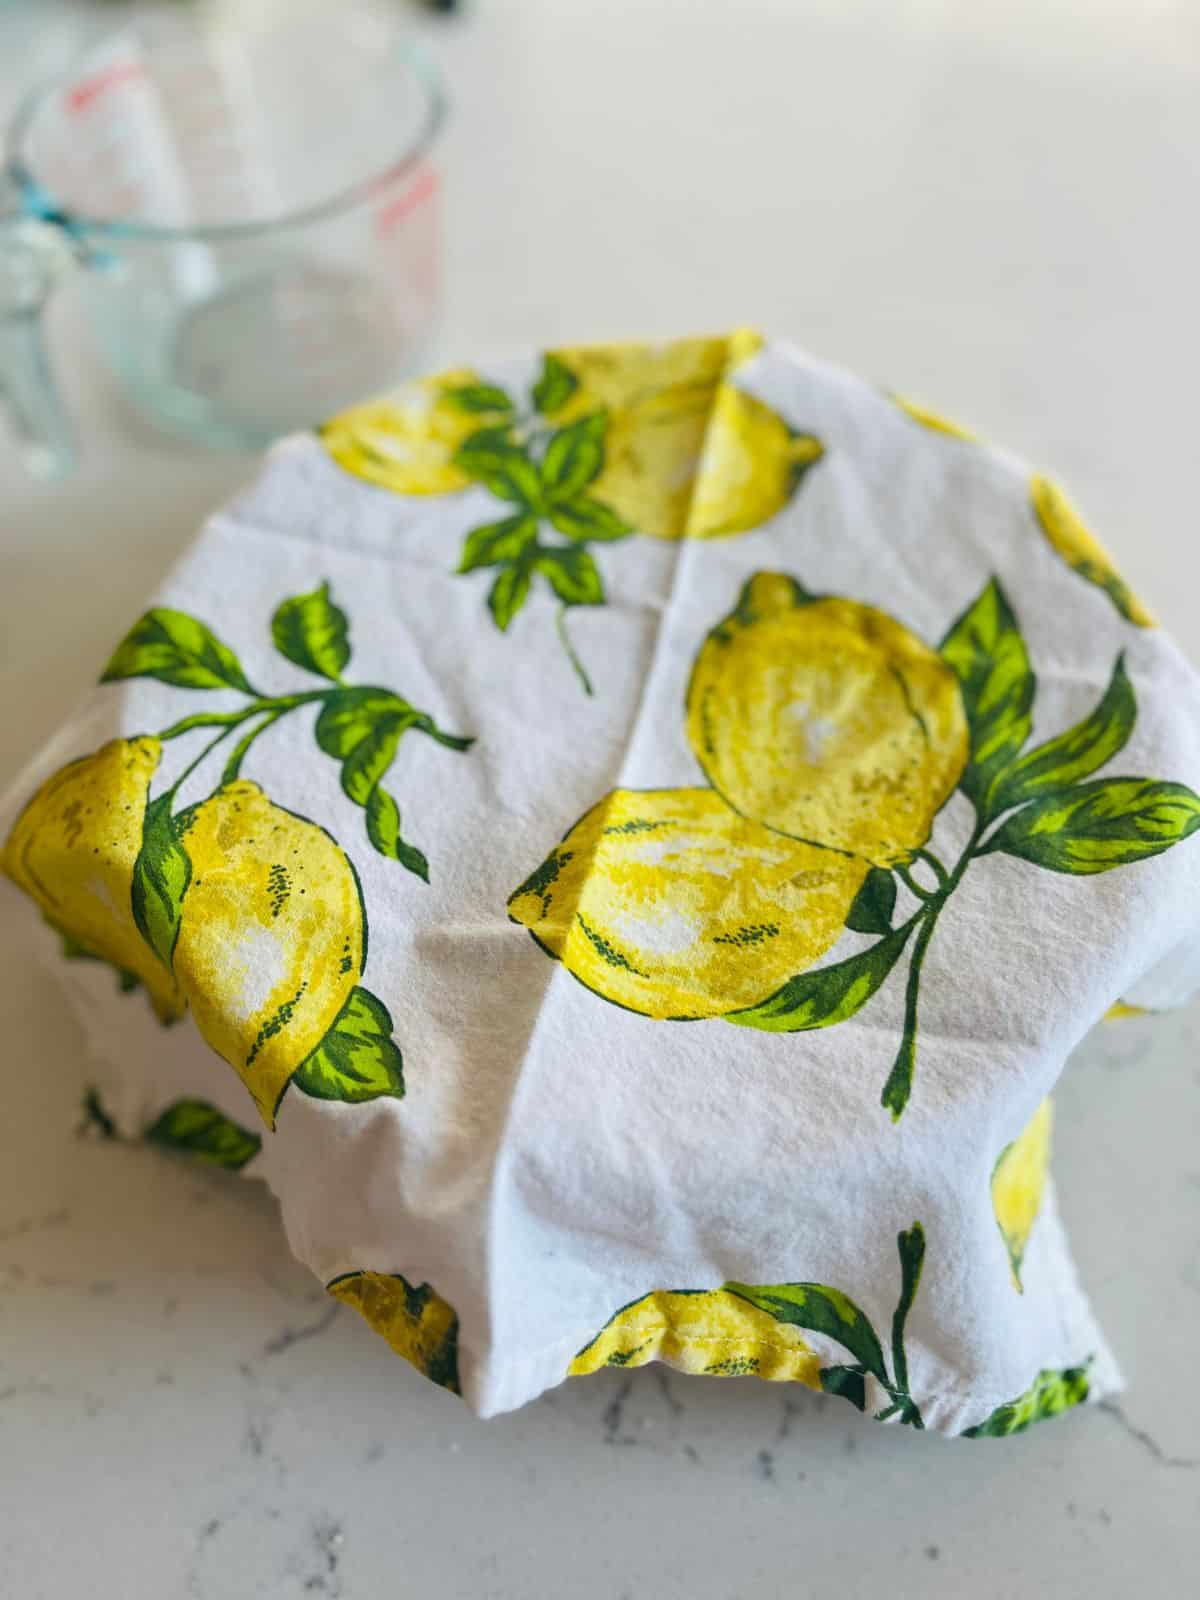
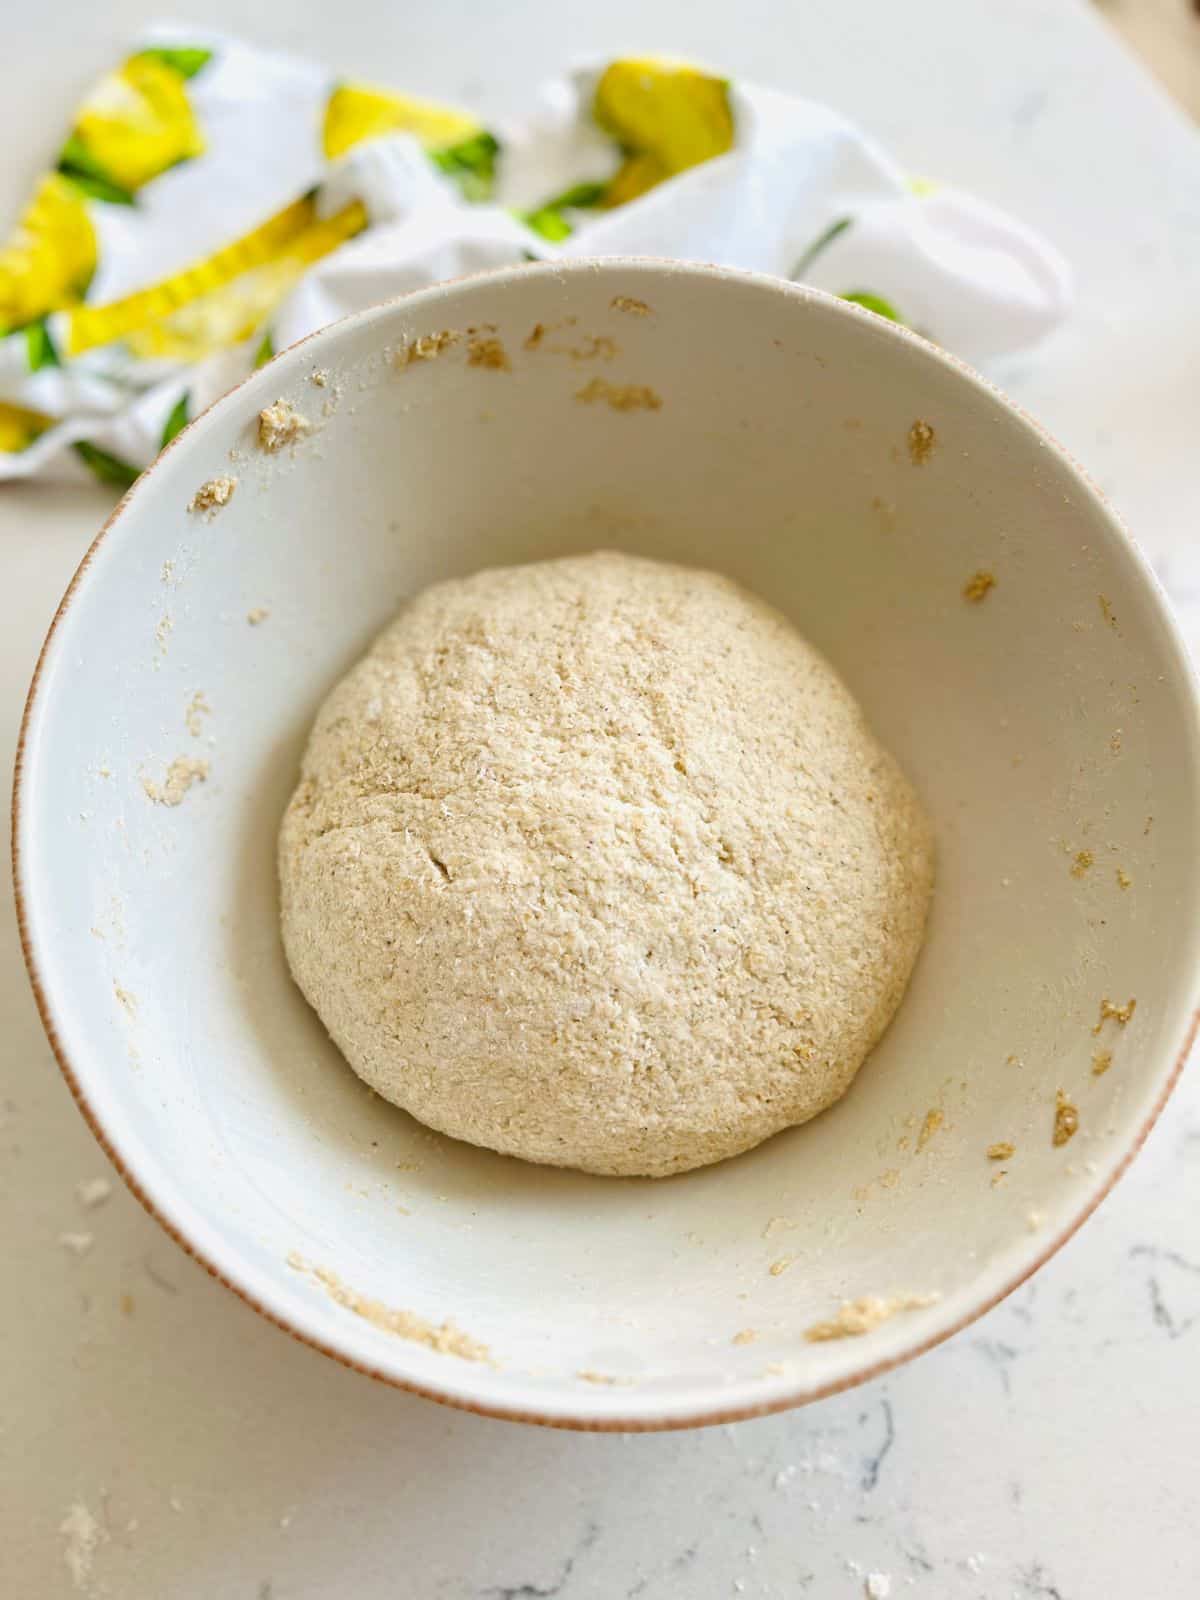
Cover with a dish towel or cloth napkin and let this mixture sit for 1 hour.
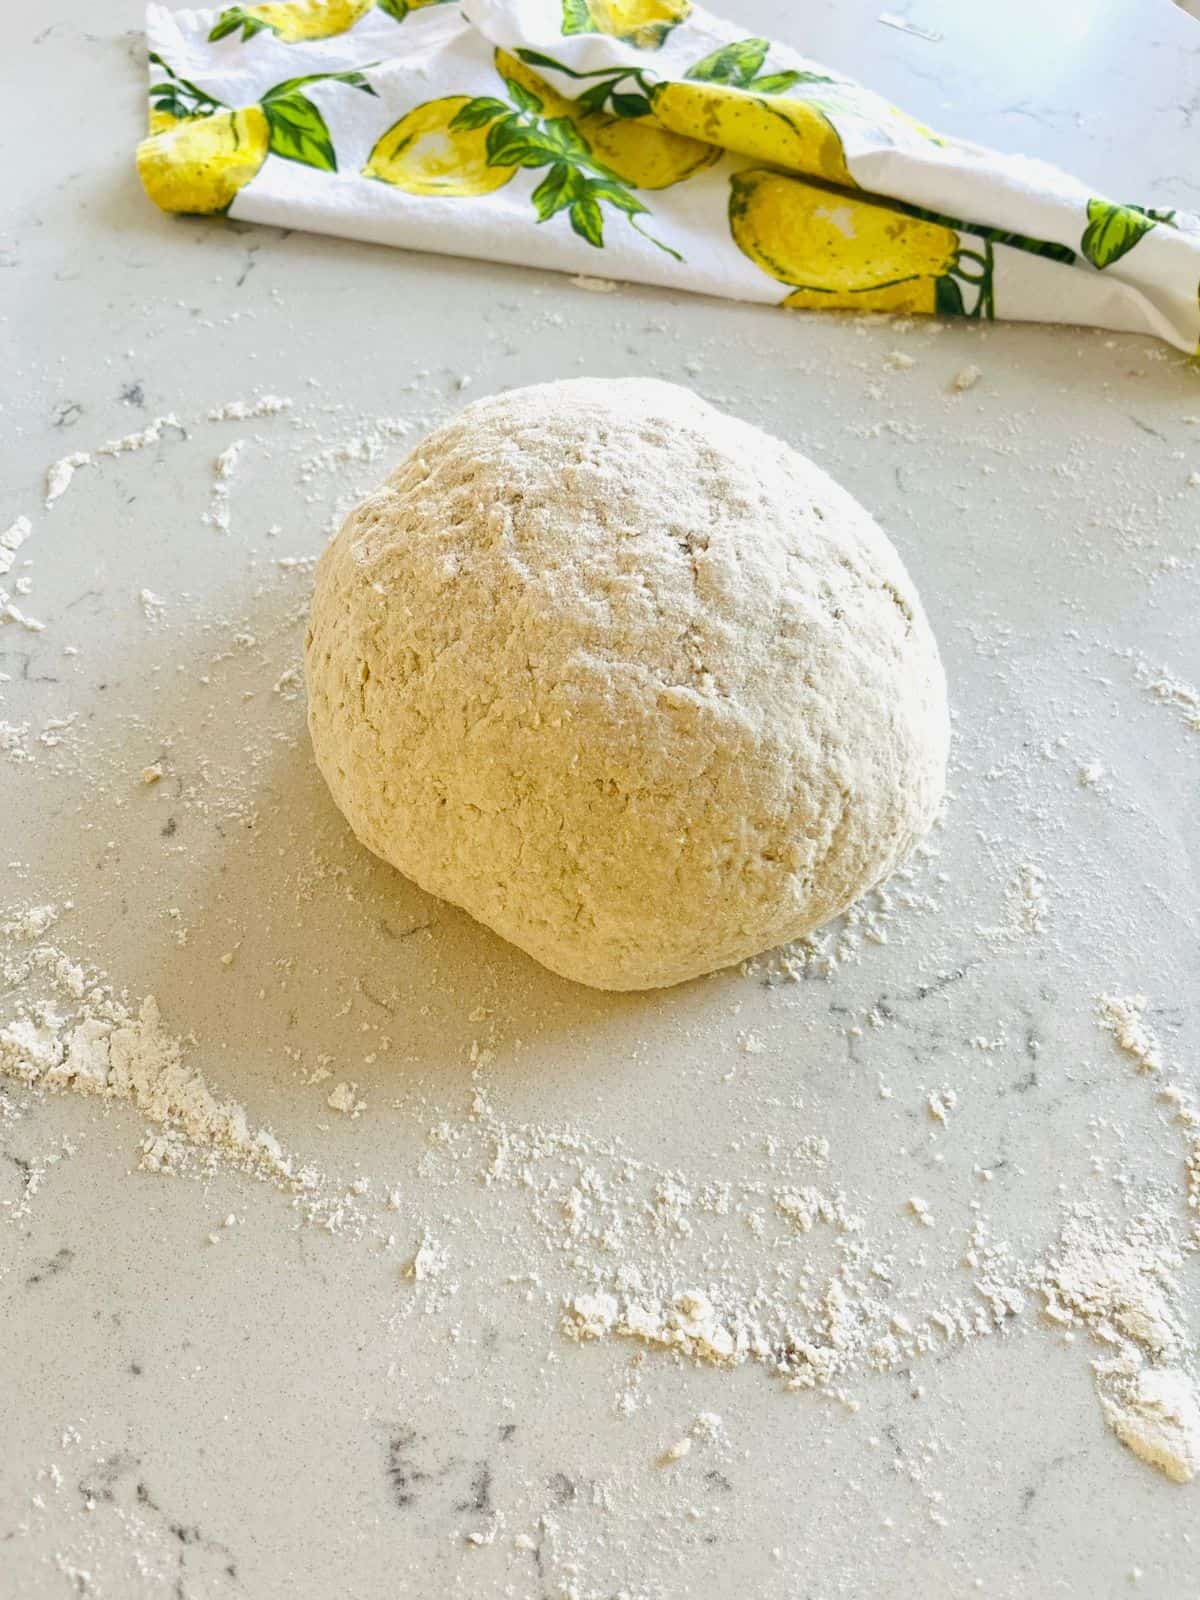
After it sits, flour a clean surface, remove the dough from the bowl, and sit on the surface.
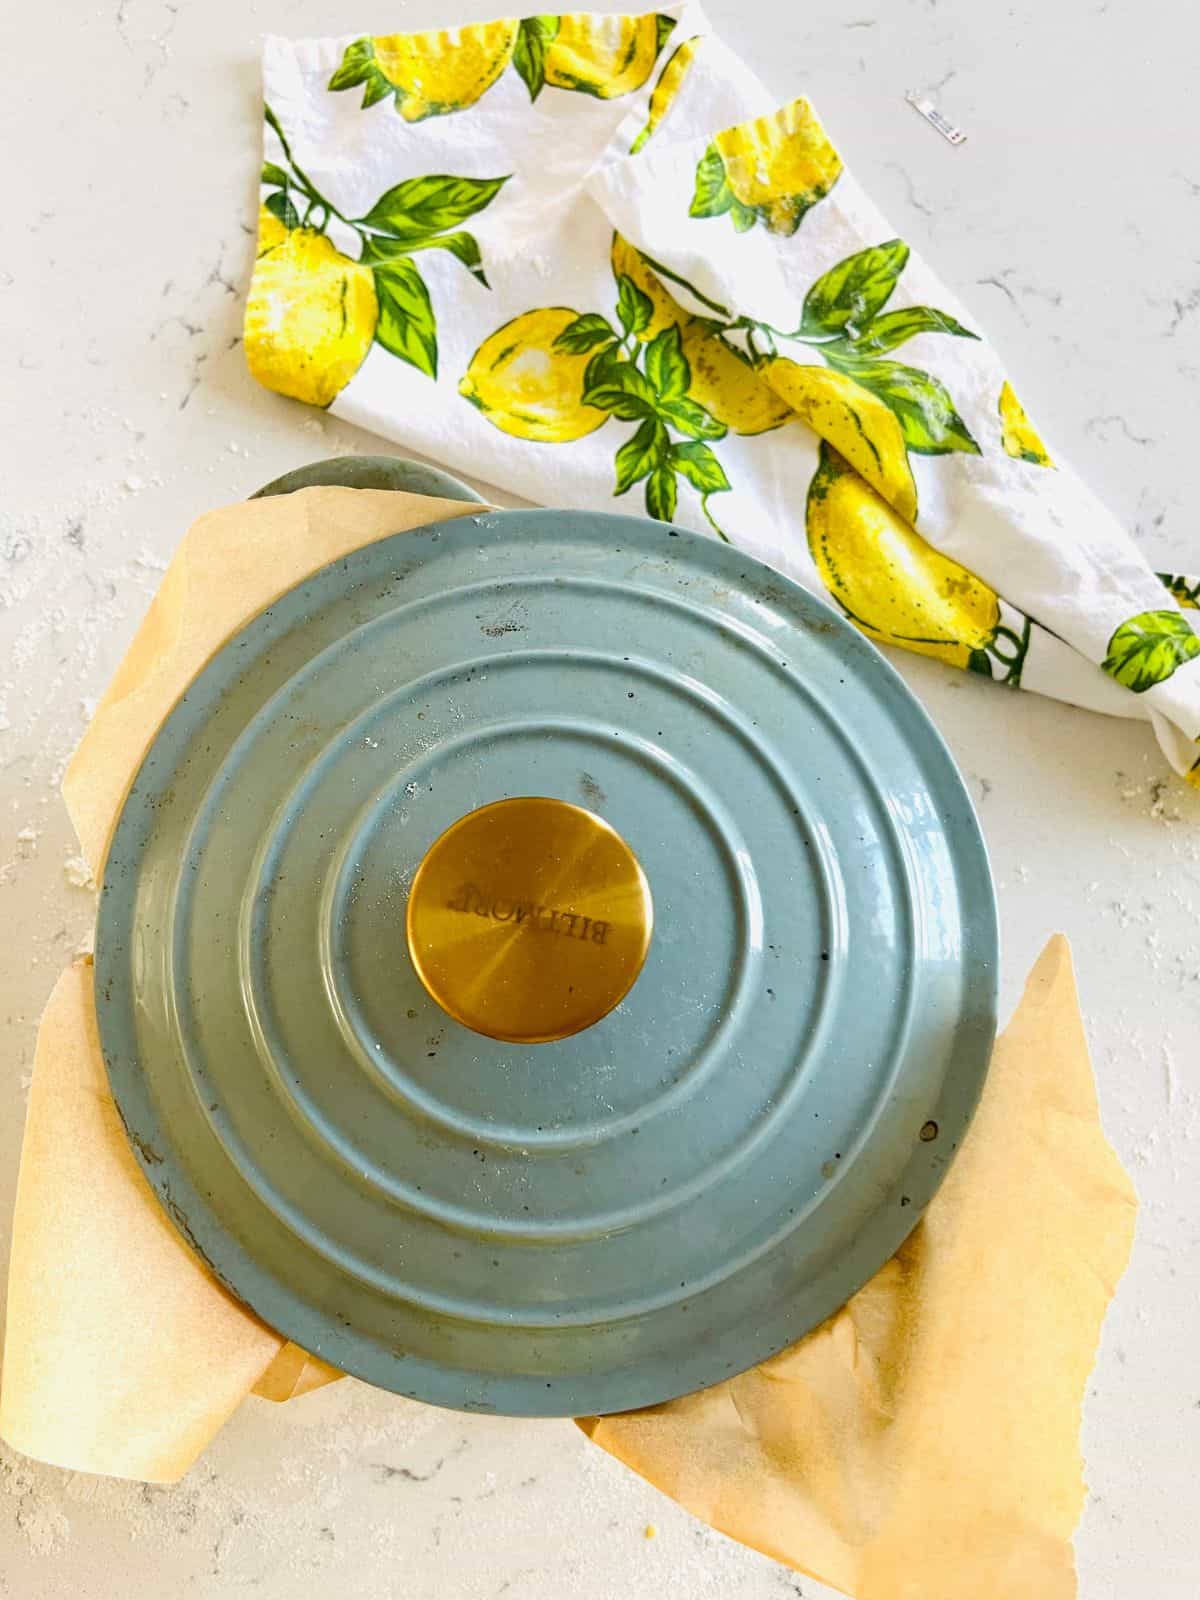
Proof: Knead/form the dough and place in a round dish or banneton to rise. It should rise .5-1 inches. However, I usually just test it with the finger test. Press on the dough. If it goes down and does not bounce back, then it has not risen enough. If it doesn’t go down at all, then it has risen too much. You should be able to press it down and it springs back slightly and slowly.
After the dough has finished proofing begin heating your dutch oven in the oven at 450°F.
Knead the dough once more until it is in a nice plump circular shape. It will be finished when you have worked most of the cracks out of the dough. Place the dough on unbleached parchment paper.
Once oven heats to 450°F, remove the dutch oven, take the lid off using an oven mitten, and place the parchment paper/dough inside the dutch oven.
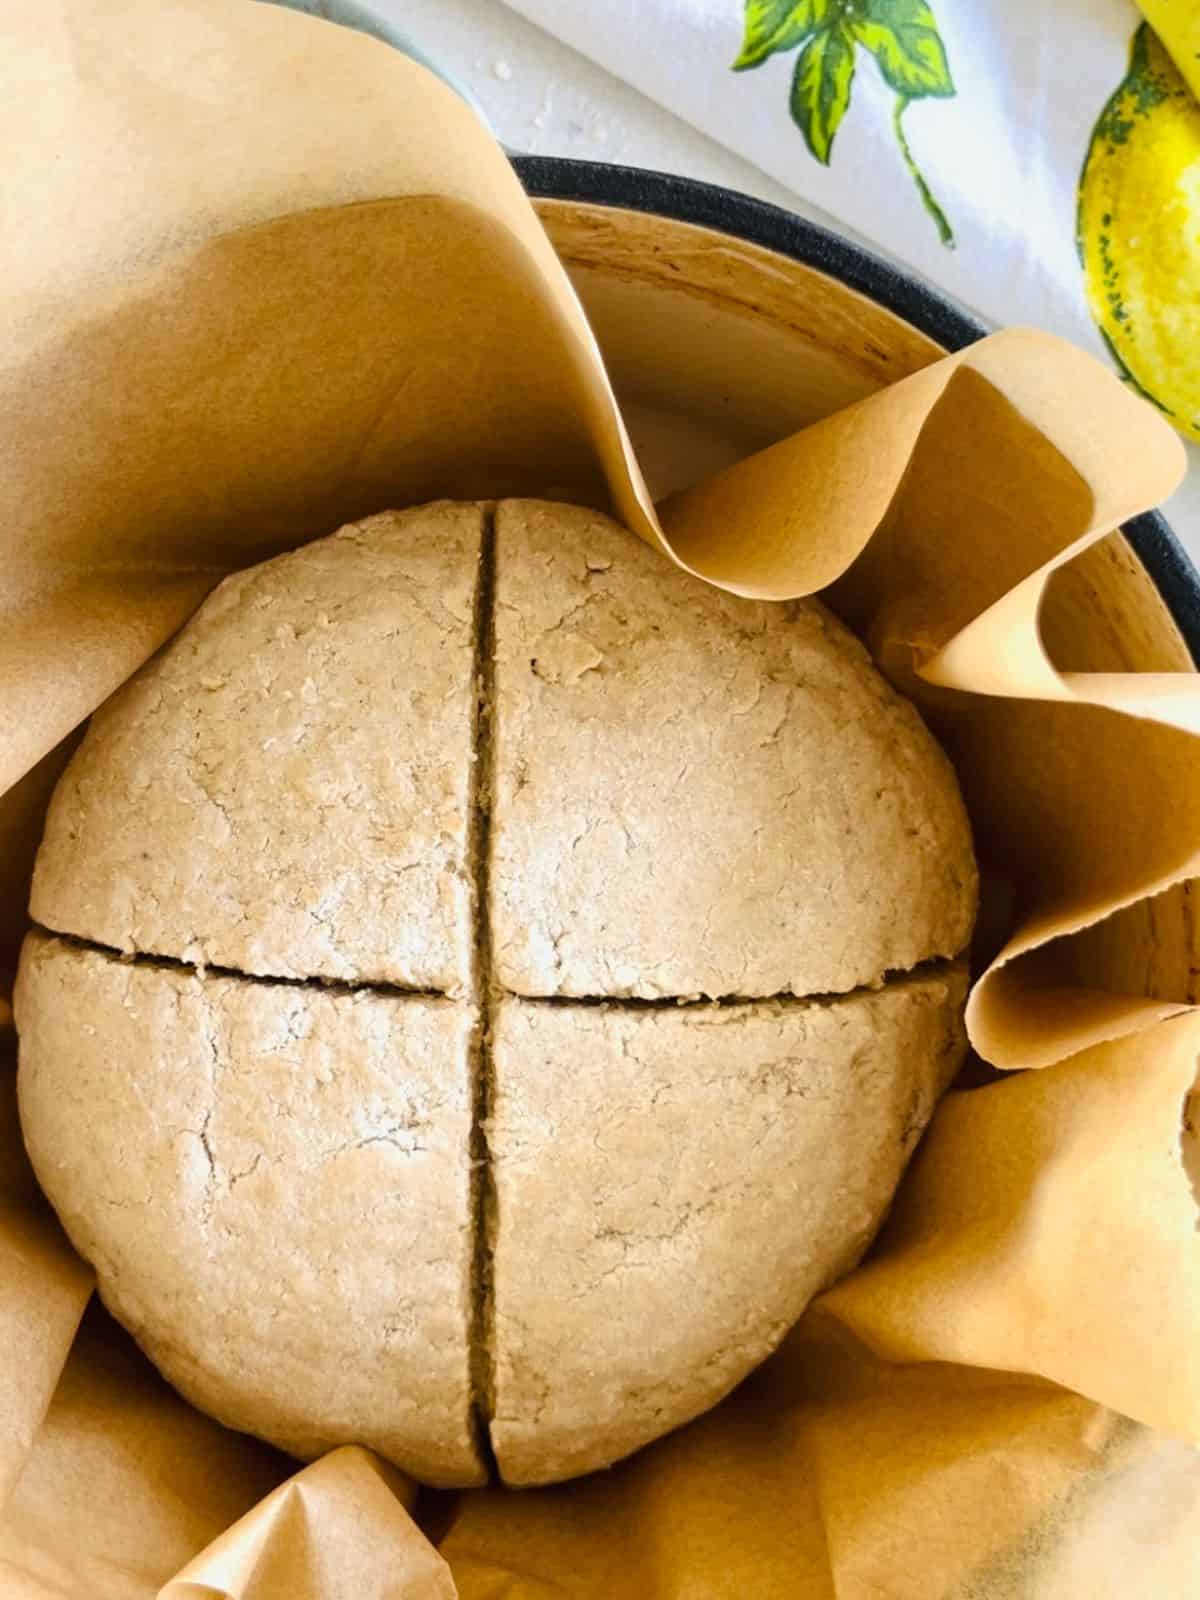
Score the bread: See instructions on recipe card below.
Cover with lid. Bake for 15 minutes. Remove the lid and bake for another 50 minutes or until the internal temperature of the dough reaches 210°F
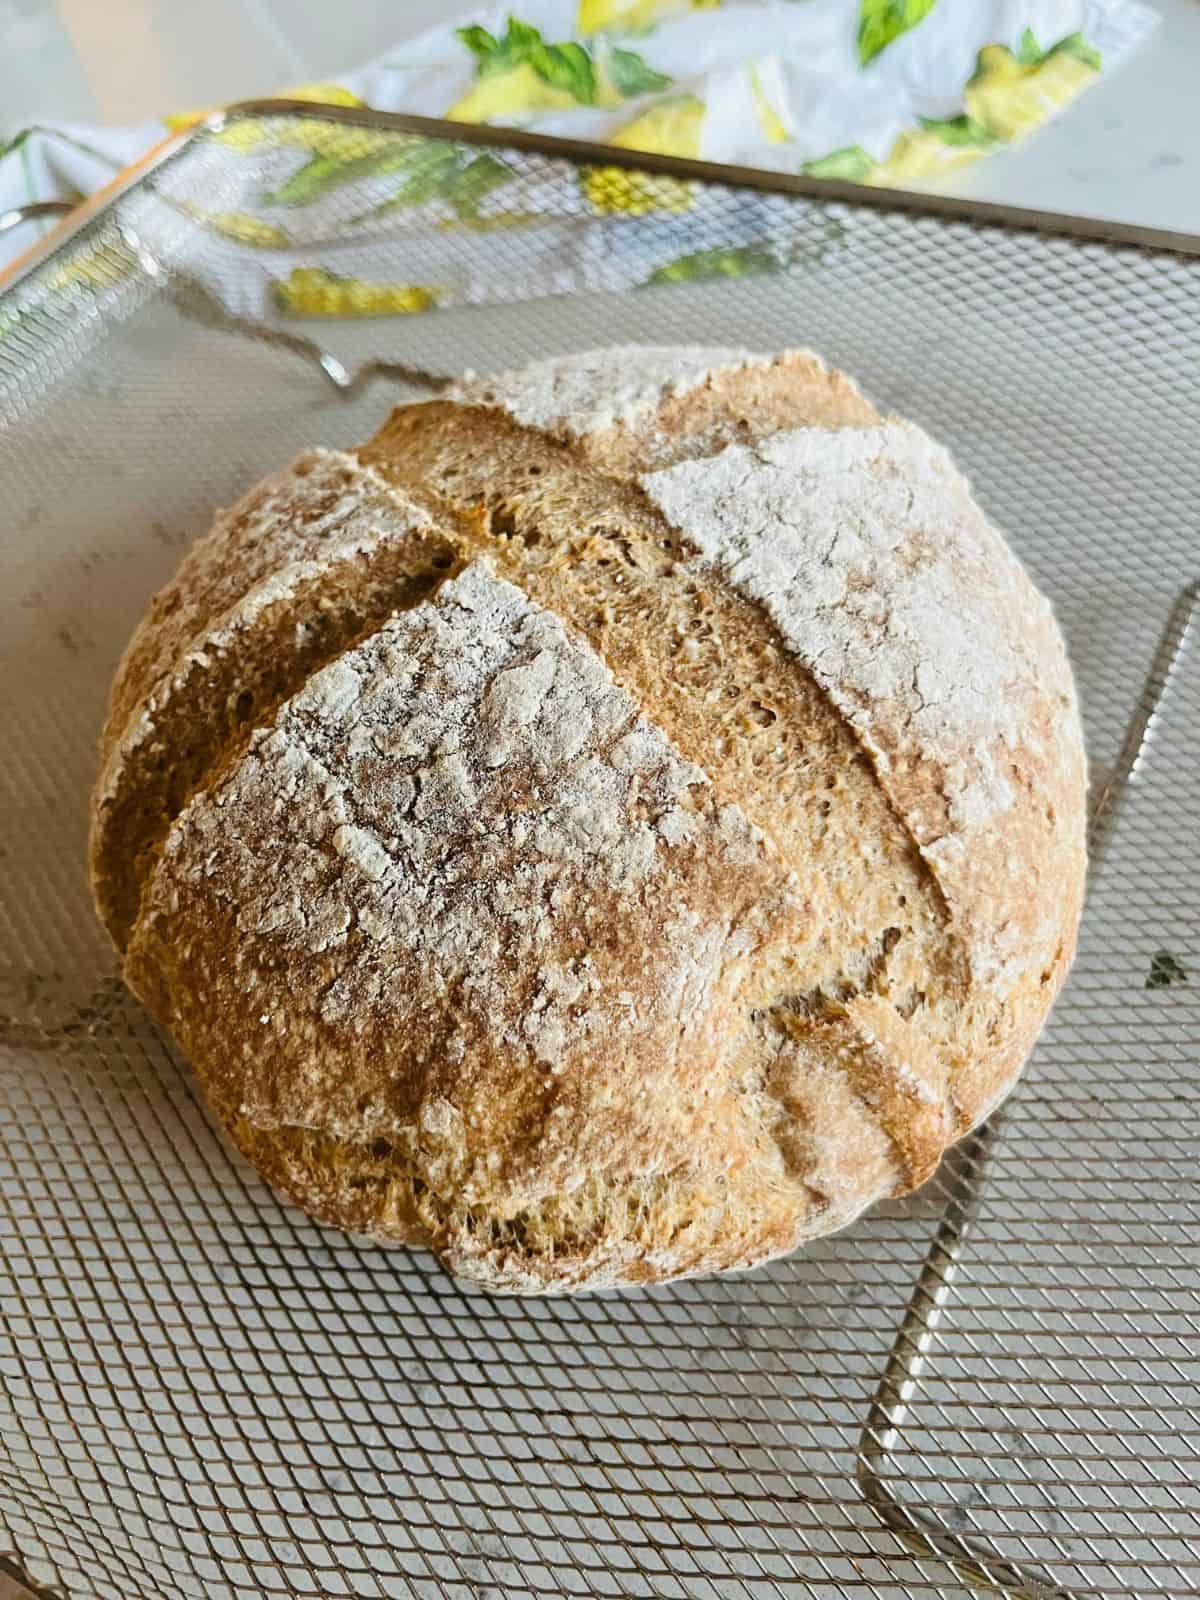
Set on a rack to dry completely before cutting.
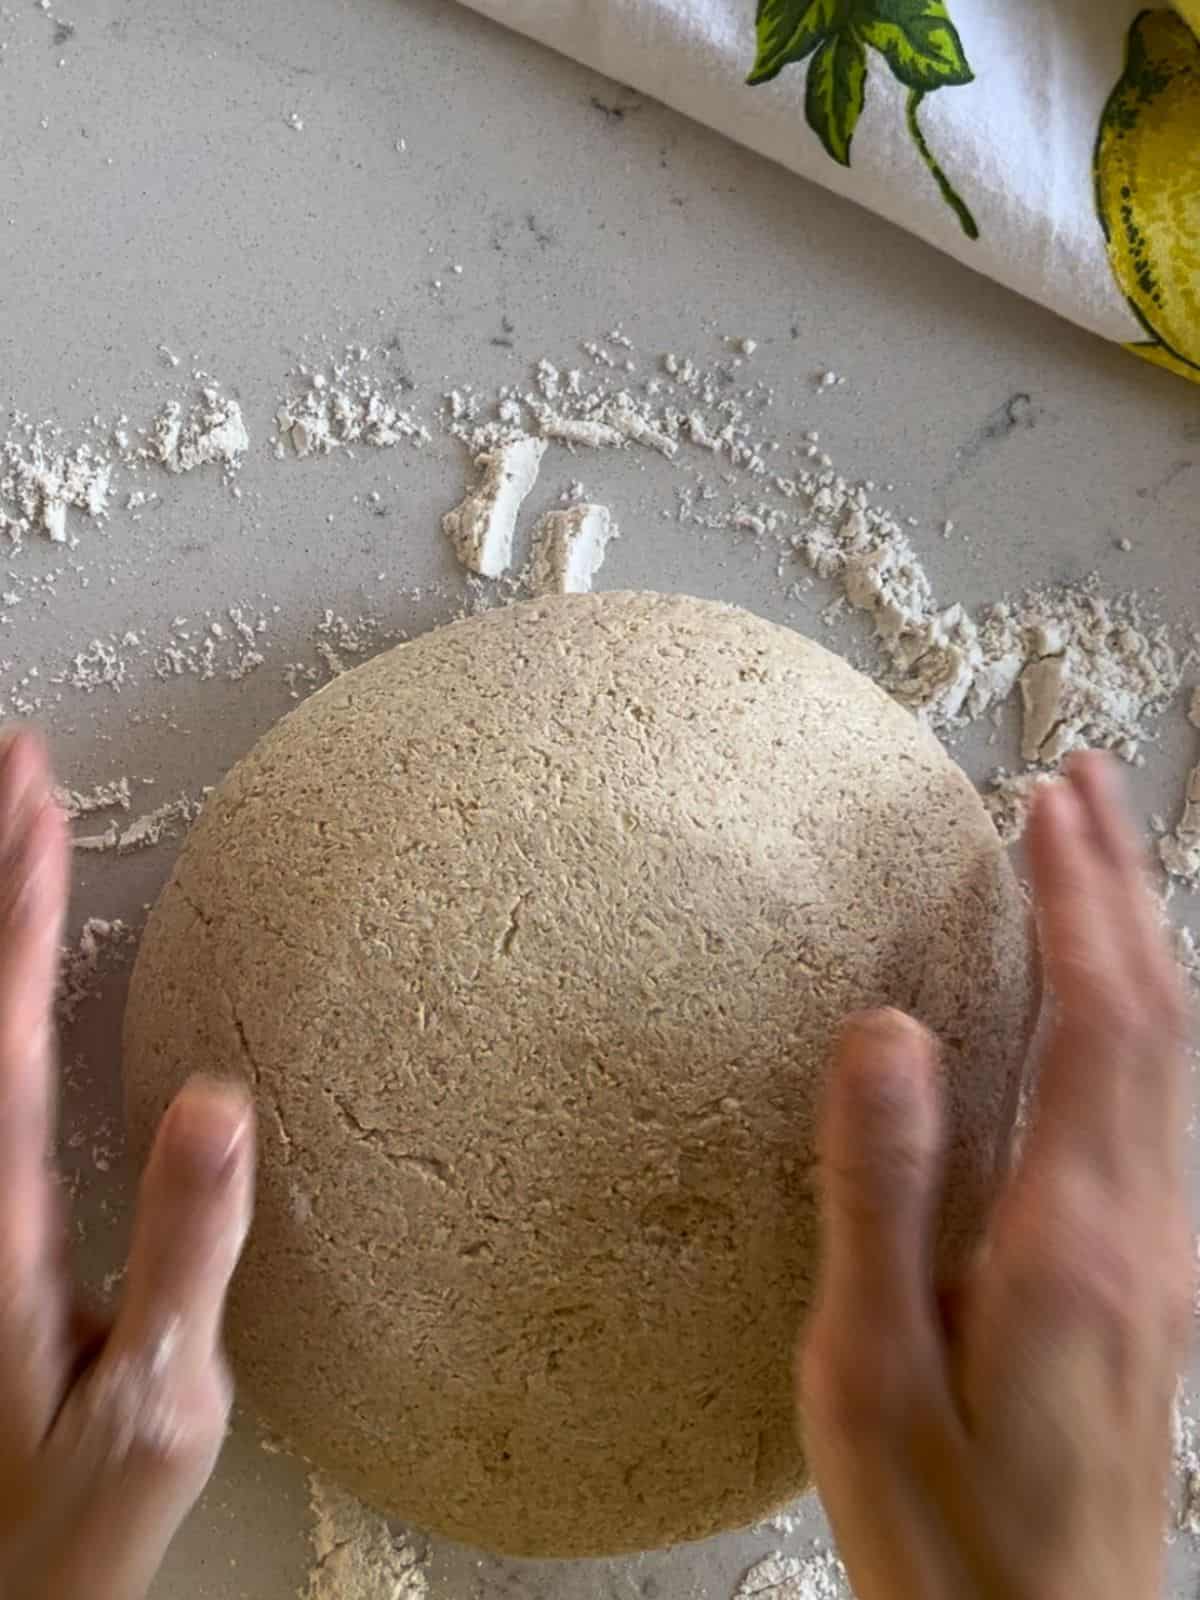
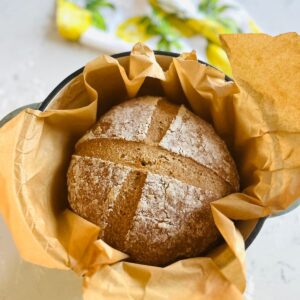
Forming The Gluten Free Sourdough Bread
If you want to get into the technicalities of bread forming and you want to form a different shape than round, see this article.
I think the gluten free sourdough bread comes from boule or round shape. See my video on shaping the best gluten free sourdough bread. You will notice the whole time I am mainly working to make the bread smooth and to work out any cracks.
Flour the surface and get to work!
Scoring Sourdough Bread
Scoring is an extremely important part of the bread making process. It is a technique of slicing into bread in order to help the moisture evenly diffuse and therefore creating a good rise. See my video for a look at scoring. You will notice that I take time to make an outline for the score and then go back over it. You can use a blade or a knife like I am using.
Variations
Try adding some cheddar and jalapeños inside for a spicy savory version!
Add seeds like sesame, poppy, salt, and pepper to the top for everything sourdough!
What To Cook The Best Gluten Free Sourdough Bread In
I like to shape the gluten free sourdough bread boule (round) and should be made in a 2.8-2.9 quart dutch oven. This allows enough room to evenly cook the bread and disperse the water but also to maintain a lovely round shape for the bread. I had a friend cook one in a 2.3 quart I believe, and that loaf did not turn out well.
Cook Time For Sourdough Bread
The cooking time for the best gluten free sourdough bread is important but simple and measurable. You will first cover the loaf with the dutch oven lid and cook for 15 minutes. This helps the bread by retaining moisture. After the 15 minutes is up, you will remove the lid and allow bread to bake for 40-50 minutes or until bread reaches 210°F.
Storage
You can freeze for up to a month in a gallon sized ziplock bag.
Eat within 2-3 days of baking if you don’t freeze.
Top tip
Share something here that you think is key to making this recipe well, such as: Don’t overcook the burgers! Sear the outside and cook to a minimum internal temperature, but they should still be juicy for best results.
FAQ
Yes, but if you do this a lot with course grains your processor may burn up faster.
You can purchase these at most stores!
In a short and sweet answer, psyllium husk provides the structure that we miss without gluten in gluten free bread.
Yes! A mature starter will sit well in the refrigerator for 3-5 days.
Gluten Free Sourdough Bread
Ingredients
- 500 grams flour (100g rice/400g oat) 1 cup/3 cups
- 24 g psyllium husk 3 teaspoons
- 8 g salt 1 teaspoon
- 100 g sourdough starter ¼ cup
- 600-620 g water 2 ½-2 ¾ cups
Instructions
- Blend dry ingredients together well.
- Blend starter and water together well.
- Mix wet and dry together.
- Cover with a dish towel or cloth napkin and let this mixture sit for 1 hour.
- After it sits, flour a clean surface, remove the dough from the bowl, and sit on the surface.
- Proof: Knead/form the dough and place in a round dish or banneton to rise. It should rise .5-1 inches. However, I usually just test it with the finger test. Press on the dough. If it goes down and does not bounce back, then it has not risen enough. If it doesn’t go down at all, then it has risen too much. You should be able to press it down and it springs back slightly and slowly.
- After the dough has finished proofing begin heating your dutch oven in the oven at 450°F.
- Knead the dough once more until it is in a nice plump circular shape. It will be finished when you have worked most of the cracks out of the dough. Place the dough on unbleached parchment paper.
- Once oven heats to 450°F, remove the dutch oven, take the lid off using an oven mitten, and place the parchment paper/dough inside the dutch oven.
- Score the bread: Before it begins baking you have to score it. Scoring the bread is a technique of cutting into the bread to properly release moisture. This helps with the rise of the bread. Using a blade or thin sharp knife edge, cut a cross in the dough. First start with forming the cross. Start in the middle of the bread and barely scratch into the bread all the way from edge to edge vertically, just enough to see the outline of a line. Do this again horizontally. You will cut directly through the middle both horizontally and vertically. After you scratch into the bread to see where you are cutting, now cut deeper over those lines but no more than ½ inch.
- Cover with lid. Bake for 15 minutes.
- Remove the lid and bake for another 50 minutes or until the internal temperature of the dough reaches 210°F
Food safety
We sometimes take for a granted that we have years (or decades) of cooking experience, that the average visitor may not. Add to, or remove from, the list below with health and safety tips.
- Do not use the same utensils on cooked food, that previously touched raw meat
- Wash hands after touching raw meat
- Don’t leave food sitting out at room temperature for extended periods
- Never leave cooking food unattended
- Use oils with high smoking point to avoid harmful compounds
- Always have good ventilation when using a gas stove
Virginia Lacher
I have made sourdough bread before that never quite turned out, and I have made gluten free bread with ALL the flours (if you know, you know!). I always thought I couldn’t make bread, until I tried this recipe. It is easy, doesn’t require tons of ingredients, and is delicious! I have made the perfect loaf every time!! I highly recommend this recipe, if you want a simpler sourdough gluten free loaf of bread that tastes wonderful!
Healthy Southern Gal
I’m so glad that you’ve had great success with this recipe! That’s the goal! Thank you so much for sharing your experience and comments!
Monica D
I have been searching for the best homemade sourdough loaf for a long while and I am SO happy I came across this today. I’ve been recipe hopping for far too long lol.
I did modify this recipe slightly, I reduced some water and added an egg, a tsp of olive oil and a tablespoon of maple syrup, and replaced a 1/4 cup of rice flour with arrowroot starch. It came out amazing!!
I processed my own oats in the blender for oat flour and that seemed to work great. This recipe made an easy, workable, silky dough that baked with a great crust and delicate but hearty texture. The whole family loved it and there are no leftovers 😂 so much for toast in the morning! In a couple days I plan to make two loaves and I honestly can’t wait to try it without the mods- I think it’s going to be great. Thank you for posting this!